
Step 01
Dry Out
Always remove the silencer from the firearm when it is not in use. Allow the inside to dry if wet or damp. Use a heat gun, compressed air, hairdryer, fan, or similar until it is completely dry.
Stalon silencers are built to perform under the most demanding hunting conditions. If something needs attention, our service team is here. Most issues can be resolved in the field — start below.

Si observas marcas en la parte delantera, tu silenciador probablemente se ha aflojado durante el disparo.
Gracias al diseño de auto-apriete interno, el silenciador suele volver a fijarse automáticamente con el siguiente disparo.
El soporte del cañón está en la parte trasera y actúa como estabilización de respaldo.
Debe ser 0,5–0,7 mm más ancho que el cañón. En caso de impacto, ayuda a mantener el silenciador alineado.

La humedad combinada con residuos forma un compuesto corrosivo dentro del silenciador.
Una vez seco, aplica un aceite ligero cada pocas semanas. Esto protege las superficies internas y puede mejorar la reducción de sonido.
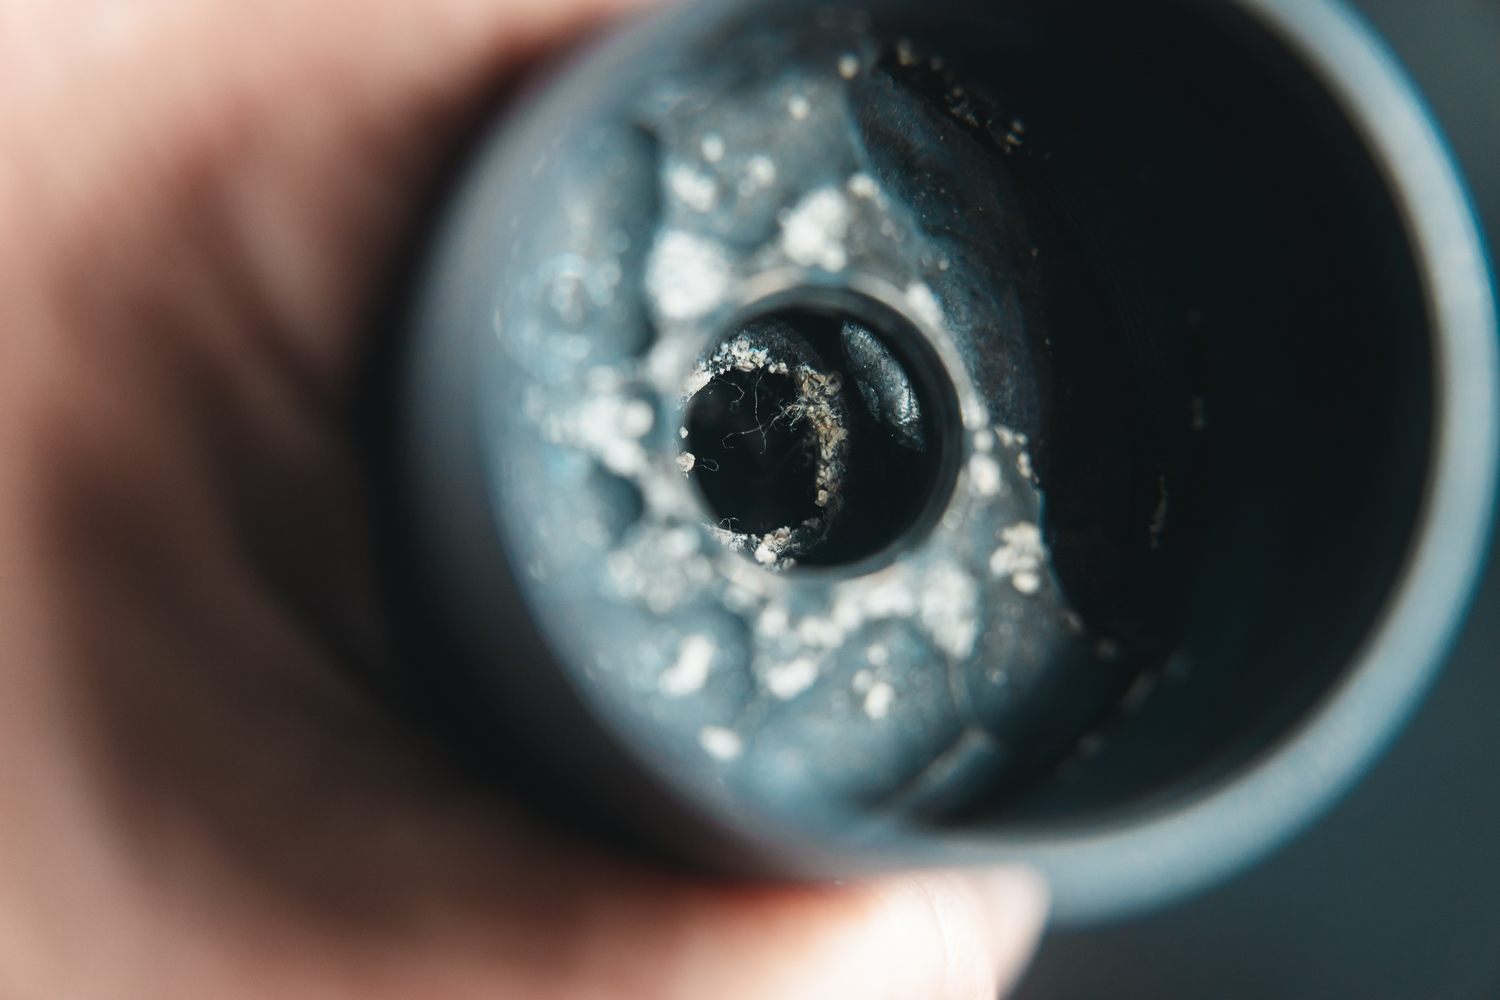
Esos copos parecidos a la tiza son minerales de humedad secos.
Limpia con un cepillo de latón. El ánima siempre debe permanecer perfectamente cilíndrica.
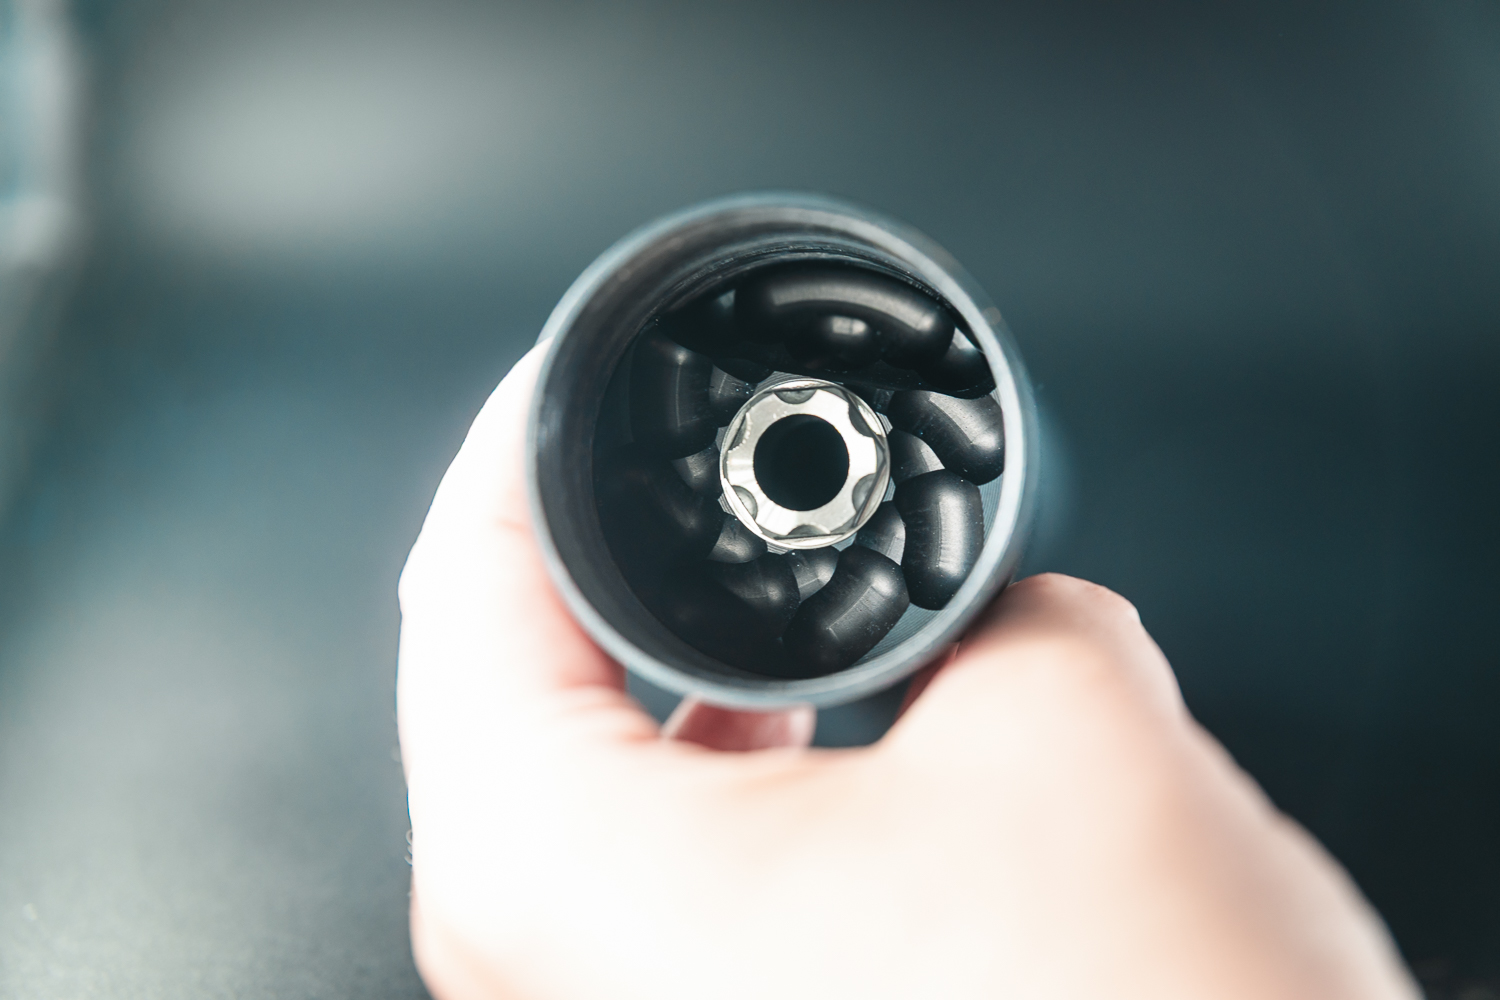
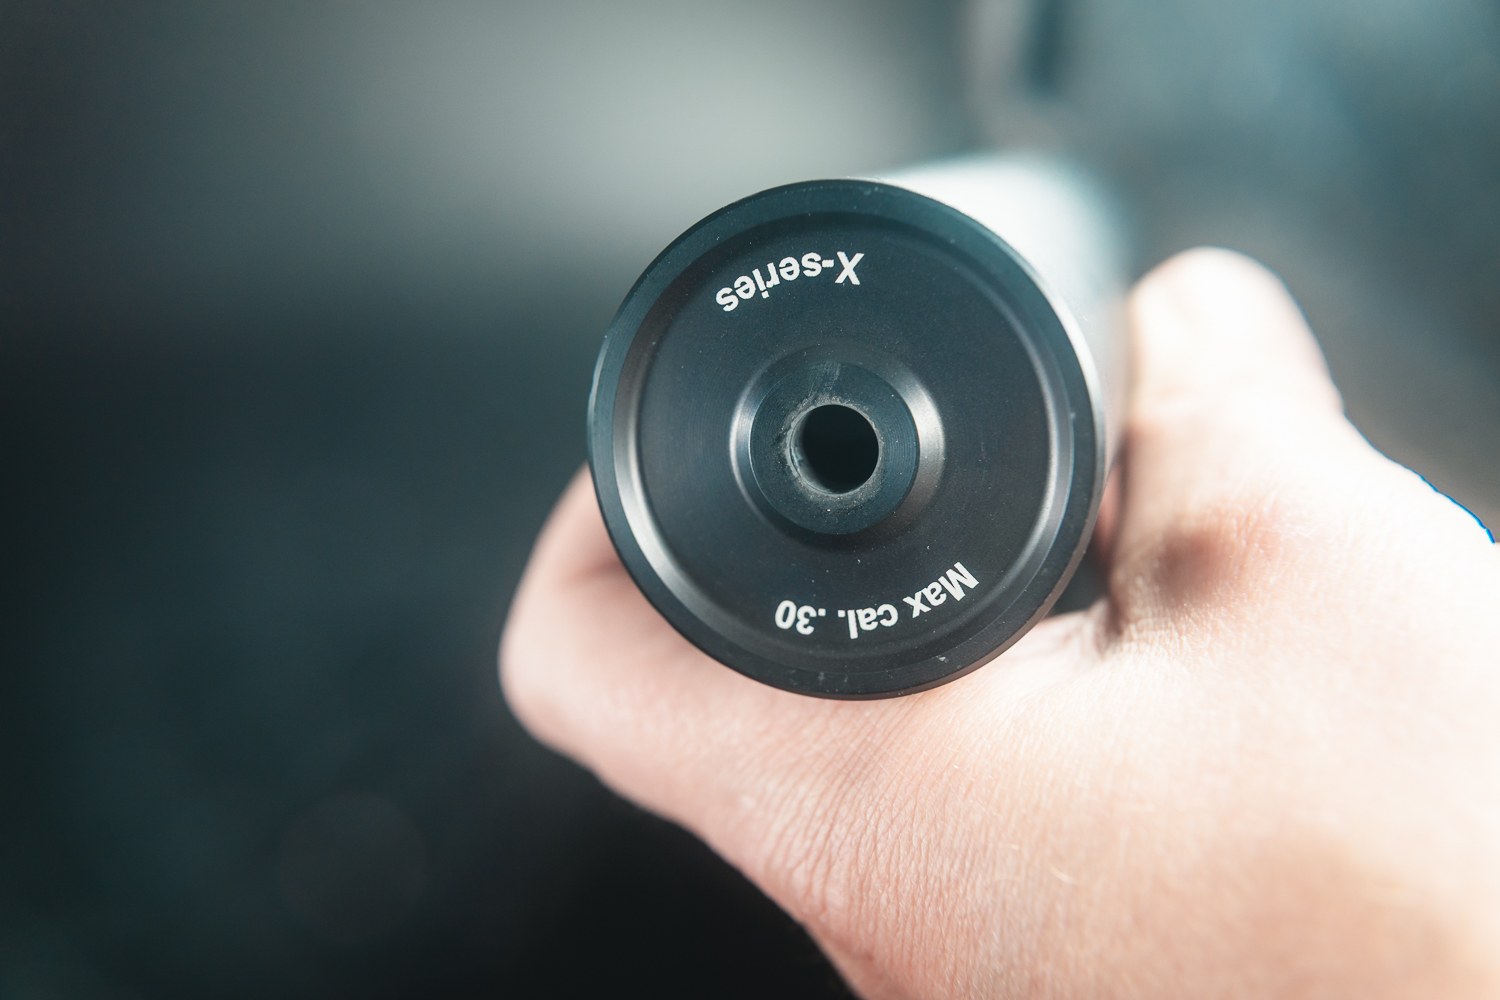
¿Baffles asimétricos con un ánima centrada?
Es intencional. Los silenciadores Stalon están diseñados así para un flujo de aire y rendimiento óptimos.
Es raro que un silenciador que ha funcionado bien de repente dispare mal.
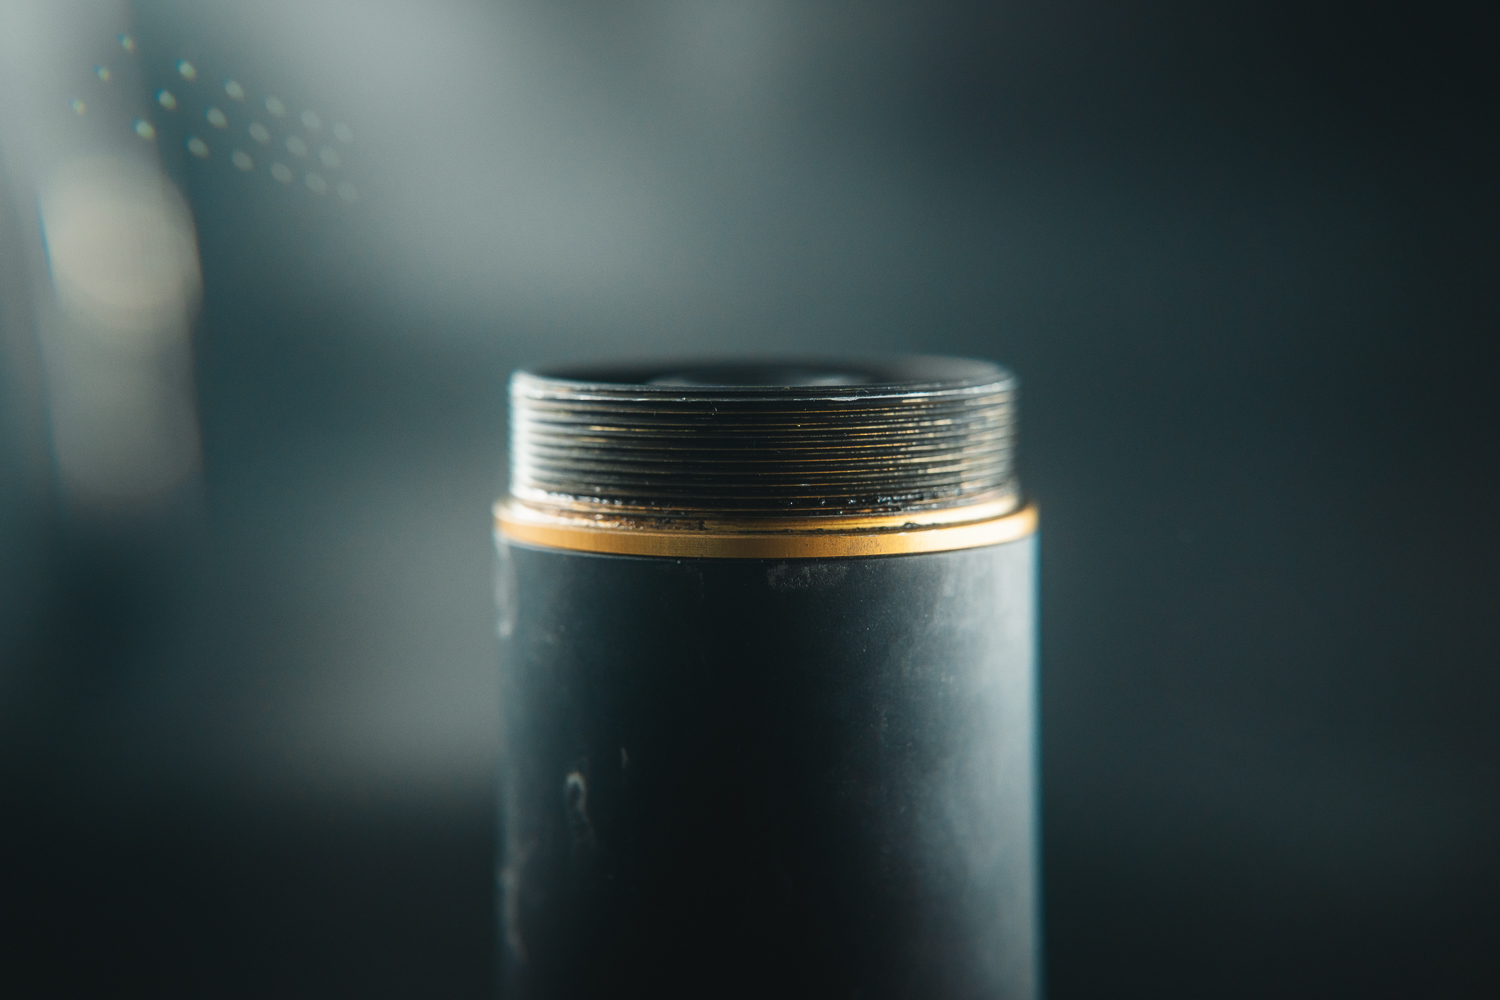
Comprueba si hay suciedad en las roscas. Aprende más sobre cómo limpiar las roscas aquí >
Stalon Accessory mounts are perfect for attaching cameras, search lights, and other accessories. It is however important that the setup with weapon and silencer is tested for accuracy and point of impact.
InstructionMake sure that the Stalon accessory mount fits the model of silencer it is intended for. Install the accessory mount on the back-end of the silencer and attach the silencer with accessory mount mounted to the model it is intended for. Align the accessory mount to the correct position and secure it by clamping the weaver style base with a ring mount or similar. Test shoot the setup for accuracy and point of impact.

Stalon barrel support is made of extremely heat-resistant composite. If the material deforms or melts, you have exceeded the silencer's maximum temperature limit. A melted barrel support can be replaced, and in some cases, the thread needs to be cleaned. The Stalon barrel support should be adjusted to the diameter of the barrel, 0.5-0.7mm larger than the barrel's diameter. Accuracy will be negatively affected if the barrel support is in contact with the barrel.
InstructionMake sure that the Stalon barrel support fits the model of silencer and the diameter of the weapon barrel. Make sure to adjust the barrel support by milling or drilling the hole to the correct diameter (0,5-0,7mm larger than the barrel). This should be done by a professional person. Attach the barrel support by screwing it on to the back-end of the silencer. Check the barrel support to make sure it is not touching the barrel.

Stalon barrel support is made of extremely heat-resistant composite. If the material deforms or melts, you have exceeded the silencer's maximum temperature limit. The Stalon barrel support should be adjusted to the diameter of barrel, 0.5-0.7mm larger than the barrel's diameter. Accuracy will be negatively affected if the barrel support is in contact with the barrel.
InstructionMake sure that the Stalon Barrel support fits the model of silencer and the diameter of the weapon barrel. Make sure to adjust the barrel support by milling or drilling the hole to the correct diameter (0,5-0,7mm larger than the barrel). This should be done by a professional person. Attach the barrel support by screwing it on to the back-end of the silencer. Check the barrel support to make sure it is not touching the barrel.
None.
InstructionMake sure that the Stalon front-end fits the silencer it is intended for. Attach the Stalon front-end to the silencer by first removing the "original" front-end on the silencer. Test shoot the setup for accuracy and point of impact.

Installation of a regulator should only be carried out by an experienced- or professional person or gunsmith.
InstructionInstallation of a gas regulator should only be carried out by an experienced- or professional person or gunsmith.

May not be mounted on a wooden stock. Contact us for mounting instructions.
InstructionInstallation of a gas regulator should only be carried out by an experienced- or professional person or gunsmith.
None.
InstructionMake sure that the Stalon MIMIC muzzle brake fits the weapon it is intended for. Attach the muzzle brake to the firearm firmly. Test shoot the setup for accuracy and point of impact.
None.
InstructionMake sure that the Stalon muzzle brake fits the weapon it is intended for. Attach the muzzle brake to the weapon firmly and, if necessary or wanted, screw in included adjustment screws for perfect recoil taking. Test shoot the setup for accuracy and point of impact.
Never use the Stalon neoprene cover over the recommended temperature limit (250°C), Neoprene loses its elasticity at high temperatures.
InstructionMake sure that the Stalon neoprene cover fits the model of silencer it is intended for. Put the neoprene cover over the silencer and make sure it is covering the whole silencer. If the neoprene cover has a cordura reinforcement, make sure it is aligned on the top of the silencer when attached.
Stalon open sights fit most firearm/silencer combinations, it is however important that the combination is tested for accuracy and point of impact. The open sight stays perfectly aligned if attached correctly, even if the silencer is removed from the rifle and attached again.
Instruction — X-seriesMake sure that the Stalon open sight for X-series fits the model of silencer it is intended for. Install the open sight on the front-end of the silencer and attach the silencer with open sight mounted to the firearm it is intended for. Align the open sight with the sights on the firearm, secure the positioning of the open sight by screwing the locking bolt on the top of the open sight. Test shoot the setup and adjust sideways if needed.
Instruction — Victor-seriesMake sure that the Stalon open sight for VICTOR-series fits the model of silencer you have. Put the open sight on the back-end of the silencer and attach the silencer with open sight mounted to the firearm it is intended for. Align the open sight with the sights on the weapon, secure the positioning of the open sight by screwing the locking bolt on the underside of the open sight. Test shoot the setup and adjust sideways if needed.
For lubricating thread on the weapon and split section of some silencer.
InstructionLubricate the thread on the weapon by applying Stalon silencer grease on the weapon thread. Lubricate the thread in the split section of some silencers by applying Stalon silencer grease on the thread.

Stalon thread adaptors should always be attached firmly to the weapon, not to the silencer.
InstructionMake sure that the Stalon thread adaptor fits the model of silencer and the thread on the weapon. Clean the thread on the weapon and apply Loctite, attach the thread adaptor firmly on the firearm and wait for the Loctite to harden. Attach the silencer to the thread adaptor and test shoot the setup to make sure the accuracy is perfect.

Stalon thread adaptors should always be attached firmly to the weapon, not to the silencer.
InstructionMake sure that the Stalon thread adaptor fits the model of silencer and the thread on the weapon. Clean the thread on the weapon and apply Loctite 243, attach the thread adaptor firmly on the firearm and wait for the Loctite to harden. Attach the silencer onto the installed thread adapter and check accuracy when shooting. The barrel needs to be threaded according to our dimensions to ensure proper fit.
None.
InstructionMake sure that the Stalon thread cover fits the thread on the model it is intended for.
Always remove the silencer from the firearm when it is not in use. Allow the inside to dry if wet or damp. Use a heat gun, compressed air, hairdryer, fan, or similar until it is completely dry.

Start by cleaning the bore from any gunpowder residue. This is best done with a gun cleaning brass brush or boresnake.

Wipe the threads of the silencer with a piece of paper to remove any dirt. Lubricate the split section between the front and back parts (if the silencer is divisible). Use Stalon silencer grease ›

Also lubricate the barrel threads with the same grease. Ensure that these are also cleaned from any debris.

Finish by spraying a light gun oil for about 1–2 seconds (i.e., 1–2 short bursts) inside the silencer.

Store the silencer upright with the muzzle facing downward in a gun safe (or in another recommended way).